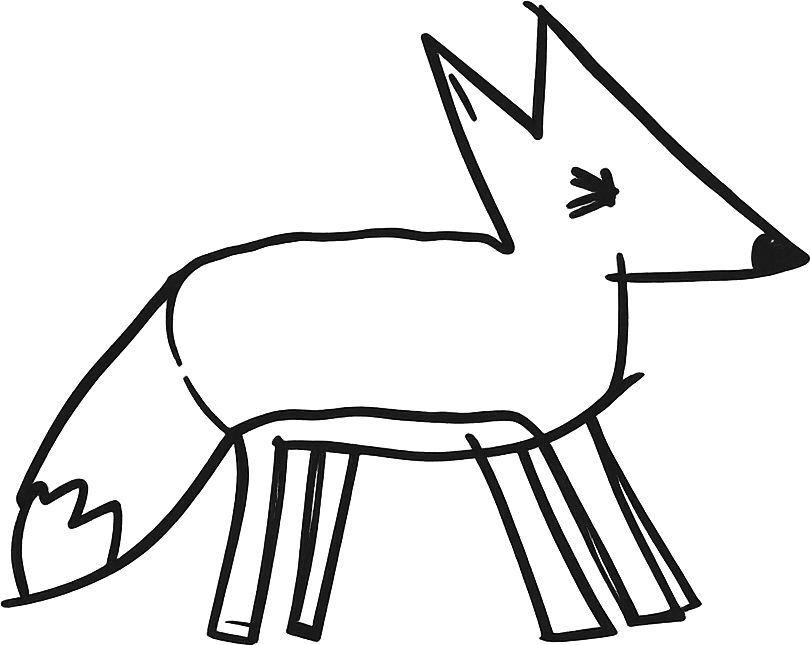
You can make space for a creative afternoon without buying a craft kit. Paper, a few crayons, and something to arrange can be enough. The invitation matters more than having every material in a sample picture.
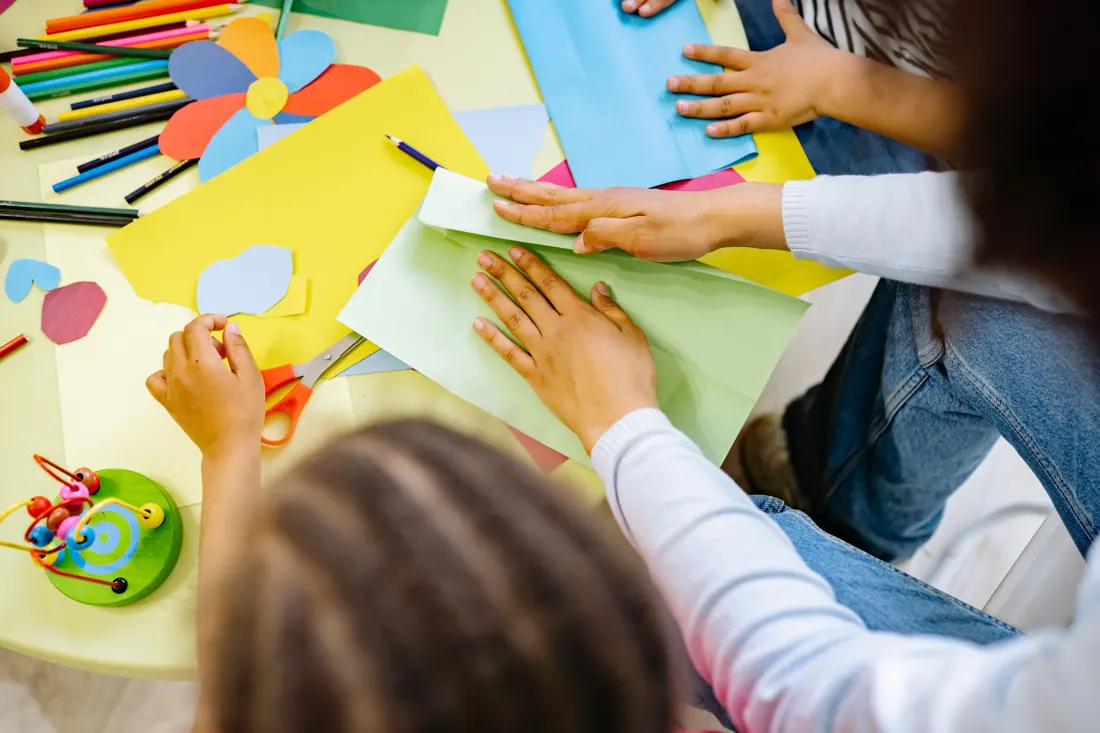
Begin with what is already available, then choose a project that fits those supplies. A smaller setup can make the first decision clearer and the cleanup easier to finish.
Choose a few materials
Set out plain or previously used paper, crayons or colored pencils, and a small collection of paper scraps. Add child-appropriate scissors and glue if they suit the children and the setting. Adult help can handle cutting while children make the design choices.
Leave unused supplies nearby instead of putting everything on the table at once. If someone has an idea that needs another material, decide together whether to add it or find a substitute.
Offer an invitation, not a matching project
Try “Make a place where something tiny could live” or “Use three shapes to begin a picture.” A child can answer with a collage, a drawing, or an arrangement that is never glued down.
If the invitation feels too broad, begin with a single choice: a background color, a creature, or a shape. You can help with the first step without planning the entire picture.
Try three simple starting points
A torn-paper landscape
Tear strips for hills, water, paths, or a completely imaginary place. Overlap them on another sheet. Move them until the arrangement feels interesting, then decide whether to attach them.
A pattern that becomes a picture
Draw repeated dots, lines, or curved marks on scrap paper. Cut or tear a few larger shapes from it. A patterned piece might become a roof, a wing, or a patch of ground in a new composition.
A woodland scene
The free sheet below includes a fox, rabbit, tree, bush, mushrooms, log, rocks, and grass for building your own woodland scene. Color the pieces you want, cut along the dashed guides with help as needed, and arrange them on a separate sheet. Add details with pencil or torn paper. The scene might tell a story, or it might simply be a collection of shapes you enjoy.
Make arranging part of the activity
Before opening the glue, try two arrangements. Move one piece to a new place. Turn a shape. Leave some white space. Ask the child which version they prefer, or take a photograph if they want to remember both.
A large sheet gives children room to combine ideas. A small sheet can make the task feel more manageable. Let the size serve the child’s plan rather than requiring everyone to fill the same amount of space.
Adapt without taking over
For younger children, offer larger pieces and a small number of choices. If cutting is frustrating, cut a loose white border around the illustration rather than following every small contour. Pre-cutting is another option.
For older children, offer an optional challenge: make a focal point, show something partly hidden, or create a setting with foreground and background. More detail is a possibility, not a requirement for finishing quickly.
Give the work somewhere to rest
Keep a tray or spare sheet for pieces that are not attached yet. That lets a child return to the arrangement another day. If everyone is finished, put usable scraps in one small container and clear the rest together.
The afternoon can end with one question: “What would you like to try next time?” A finished display is optional. An idea worth returning to is already a good reason to make again.
Try the companion activity
Woodland Collage Studio is available in the Free Resources’s Art & Creativity collection.